Step-by-step guide
Hardware installation
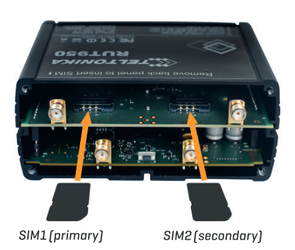
- remove back panel and insert SIM card as shown in photo. Then put back the panel and attach LTE and WiFi antennas
- Connect the power adapter to the socket on the front of the device. Then plug the other end of the power adapter into the power socket.
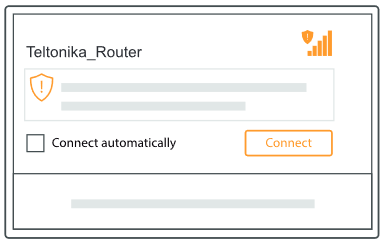
- connect to the device wiressly (SSID: Telktonika_Router) or use Ethernet cable and plug it to any LAN port
Configure your computer (Windows):
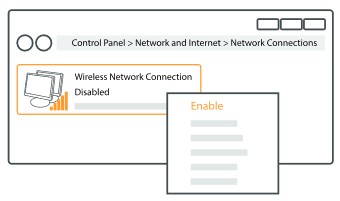
- enable the wireless network connection (go to Start - Control Panel - Network and Internet - Network and sharing center. In the left panel click Change adapter settings link. Right click on Wireless networ Connection and select Enable).
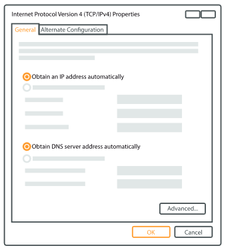
- setup wireless network adapter on your computer (right click on Wireless network connection and select Properties. After that select Internet Protocol version 4 (TCP/IP) and click Properties).
- select Obtain IP adress automatically and Obtain DNS server address automatically if they are not selected. Click OK.
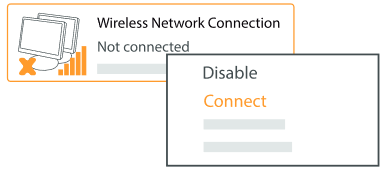
- right click on Wireless network connection and select Connect to see available wireless networks.
- choose the wireless network Teltonika_Router from the list and click Connect.
Login to device
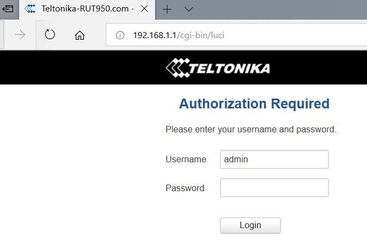
- to enter router Web interface type http://192.168.1.1 in your browser
- use default username: admin and password: admin01 when prompted for authentication. In version RUT9XX_R_00.05.00.5 you will be asked to change password before you can continue.
- Click System - Administration and choose Access Control:
- click Services - Auto reboot
- click Network - Firewall and then Port forwarding
- click Network - LAN. You can change router IP here if needed. Go to Advanced settings after that
- click -Network - Wireless and disable this option if not needed
- click Network - Mobile and configure APN settings
- click Status - Overview. If your APN settings are correct you will see IP and mobile state:
- If you want to change password or router name click System - Administration
